The Honeywell 6000 Series offers a sleek, user-friendly design with advanced features for precise temperature control. Its round display and Wi-Fi capabilities make it a modern, efficient solution for smart home integration.
1.1 Overview of the Honeywell 6000 Thermostat
The Honeywell 6000 Series thermostat is a programmable, Wi-Fi-enabled device designed for precise temperature control and smart home integration. It features a sleek, round display with a user-friendly interface, making it easy to navigate and program. The thermostat is compatible with various HVAC systems and supports advanced features like voice control and app management; Its bi-metallic disc technology ensures reliable performance, while the modular design allows for seamless installation. The Honeywell 6000 is ideal for homeowners seeking energy efficiency and convenience, offering customizable settings for heating, cooling, and fan operations. Its compatibility with Honeywell zoning panels further enhances its versatility for different home configurations.
1.2 Key Features of the Honeywell 6000 Series
The Honeywell 6000 Series stands out with its 51mm round display, providing clear visibility and an intuitive interface. It supports Wi-Fi connectivity for smart home integration, enabling voice control through platforms like Amazon Alexa. The thermostat features advanced scheduling options, allowing users to program heating, cooling, and fan settings efficiently. Its bi-metallic disc technology ensures accurate temperature sensing, while the snap-action mechanism delivers reliable performance. Compatibility with Honeywell zoning panels and emergency heat systems enhances its functionality. The thermostat also offers energy-saving modes and a modular design for easy installation. These features make the Honeywell 6000 Series a versatile and efficient solution for modern home comfort needs.
System Requirements and Pre-Installation Checks
The Honeywell 6000 Series requires compatibility checks with HVAC systems, ensuring electrical and mechanical compatibility. Verify wiring, system voltage, and thermostat compatibility before installation.
2.1 Compatibility with HVAC Systems
The Honeywell 6000 Series is designed to work seamlessly with a variety of HVAC systems, including forced air, heat pumps, and radiant floor heating. It supports both single-stage and multi-stage systems, making it adaptable to different heating and cooling setups. Compatibility with conventional 24V systems ensures easy integration with existing infrastructure. Additionally, it works with zoned systems when paired with Honeywell zoning panels, allowing for personalized temperature control across multiple zones. Always verify the system type and stage compatibility before installation to ensure optimal performance and avoid potential issues.
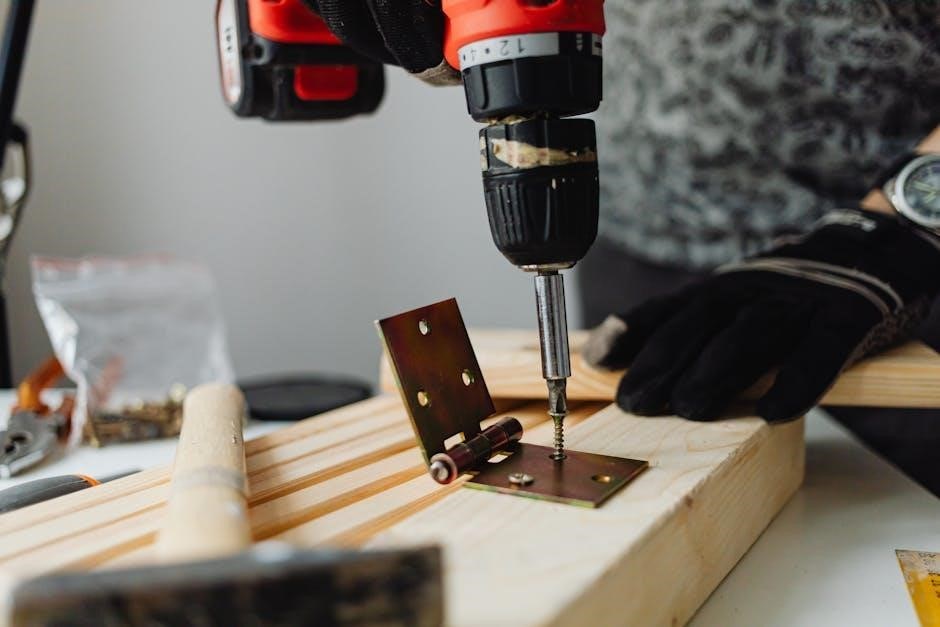
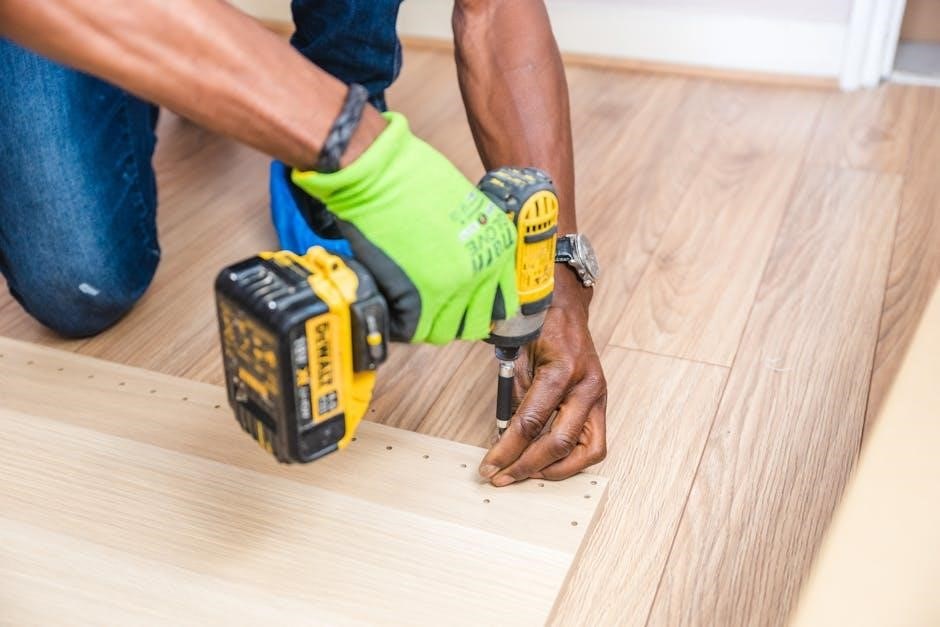
2.2 Tools and Materials Needed for Installation
To install the Honeywell 6000 Series thermostat, you will need a screwdriver, drill bits, and wire strippers for handling electrical connections. A voltage tester is recommended to ensure power is off before starting. Additional materials include wall anchors, screws, and possibly a level for proper mounting. For systems requiring zoning, compatible Honeywell zoning panels and field jumpers may be necessary. Ensure all tools are readily available to streamline the installation process. Refer to the manual for specific requirements based on your HVAC system type. Proper preparation of tools and materials ensures a safe and efficient installation experience.

Safety Precautions
Safety is crucial when installing the Honeywell 6000 Series. Always disconnect power and use a voltage tester to ensure circuits are de-energized. Handle components with care to avoid damage.
3.1 General Safety Guidelines
Always follow general safety guidelines when installing the Honeywell 6000 thermostat. Ensure the power to the HVAC system is turned off before starting the installation. Use a voltage tester to confirm the circuit is de-energized. Avoid touching electrical components or wires to prevent shock. Handle the thermostat and its components with care to avoid damage. Follow the installation manual carefully and adhere to local electrical codes. Properly ground the system to prevent electrical hazards. Keep the work area clean and well-lit to minimize risks. Never overload circuits, and ensure all connections are secure. Safety precautions are essential to prevent accidents and ensure a successful installation.
3.2 Electrical Safety Measures
When installing the Honeywell 6000 thermostat, always prioritize electrical safety. Turn off the power to the HVAC system at the circuit breaker or fuse box before starting any work. Verify the power is off using a voltage tester to ensure no live wires are present. Avoid touching electrical components or wires to prevent shocks. Properly ground the system to maintain safety and functionality. Secure all connections tightly to avoid short circuits. Adhere to local electrical codes and manufacturer guidelines. If unsure about any step, consult a licensed electrician. Proper grounding prevents electrical shocks, while secure connections reduce fire risks. These precautions ensure a safe and reliable installation process.
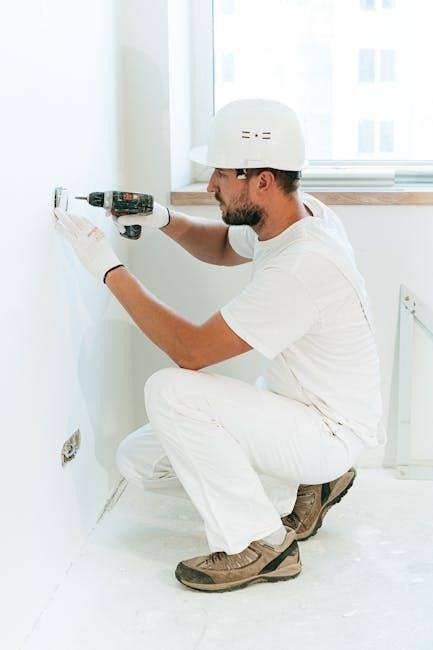
Installation Process
Begin by removing the wallplate and following mounting instructions. Ensure proper wiring connections, then install the thermostat unit. Turn off power before starting work.
4.1 Wallplate Installation and Mounting
Start by removing the wallplate from the thermostat. Carefully follow the mounting instructions provided in the manual. Ensure the wallplate is securely fastened to the wall using the provided screws. If installing in a new location, mark the wall for accurate placement. Use a level to ensure the wallplate is straight. Remove the battery holder before proceeding to prevent any accidental power activation. Once the wallplate is mounted, you can proceed to connect the wiring. Always turn off the power supply at the circuit breaker before handling any electrical components. Proper installation ensures safe and reliable operation of the thermostat.
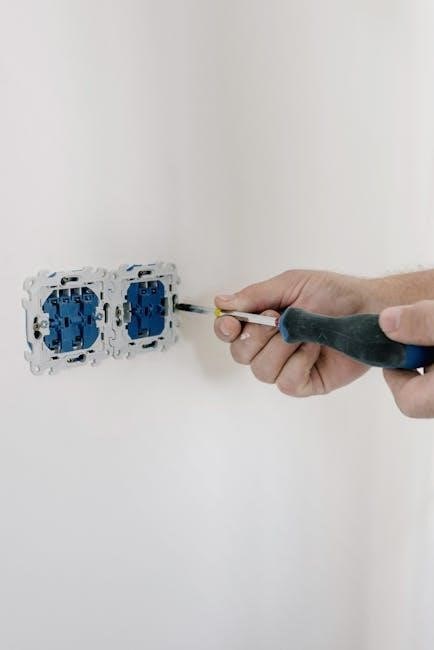
4.2 Wiring Connections and Diagrams
Wiring connections are critical for proper thermostat functionality. Refer to the wiring diagrams provided in the manual to ensure accurate connections. Turn off the power supply at the circuit breaker before starting. Connect the wires to the appropriate terminals on the wallplate, matching the colors according to the diagram. If your system requires it, install field jumpers between specific terminals, such as Aux and E for emergency heat configurations. Double-check all connections to avoid errors. Once wiring is complete, restore power and test the system to ensure everything operates correctly. Consult the manual for specific wiring requirements for your HVAC system type.
4.3 Thermostat Unit Installation
After installing the wallplate, carefully attach the thermostat unit by aligning it with the mounting screws. Gently snap the thermostat into place until it clicks securely. Ensure the unit is level and firmly attached to the wallplate. Once mounted, insert the batteries into the battery holder, making sure they are properly seated. Replace the battery holder into the thermostat unit. Finally, test the thermostat by turning it on and adjusting the temperature to confirm it responds correctly. Refer to the manual for specific alignment and mounting instructions to ensure a secure and proper installation.
Configuration and Setup
Configure the thermostat by setting temperature preferences, scheduling, and system mode. Program heating, cooling, and fan settings to optimize comfort and energy efficiency.
5.1 Initial Setup and Programming
Begin by pressing and holding the SET and FAN buttons to access the configuration mode. Follow the on-screen prompts to set your preferred temperature range and schedule. Use the navigation keys to cycle through options like heating, cooling, and fan modes. Ensure the system type matches your HVAC setup. Program daily schedules to optimize energy usage. Save settings by pressing DONE. Refer to the manual for specific instructions on advanced features like smart home integration and energy-saving modes.
5.2 Configuring Heating, Cooling, and Fan Settings
Configure the thermostat by selecting Heating, Cooling, or Fan modes using the navigation keys. Set temperature ranges for each mode to ensure optimal comfort. Choose from preset schedules or create custom settings to match your lifestyle. Adjust the fan settings to either Auto or On for continuous airflow. Ensure the system type (e.g., gas, electric) matches your HVAC setup. Use the + and ⸺ buttons to fine-tune temperature levels. Save your configurations to maintain consistency across all modes. Refer to the manual for advanced settings like geofencing or smart recovery, which enhance energy efficiency. Proper configuration ensures seamless operation and energy savings. Always save changes to avoid losing your settings.
5.3 Advanced Configuration Options
Advanced settings allow for tailored system performance. Enable geofencing to adjust temperatures based on your location. Activate smart recovery to pre-condition your home before scheduled times. Adjust humidity control for enhanced comfort. Set temperature limits to prevent extreme settings. Configure fan circulation to improve air distribution. Use adaptive learning for energy-efficient operation. Access remote sensors for precise temperature readings. Customize system alerts for maintenance reminders. Explore energy reports to monitor usage. Ensure all settings align with your HVAC system capabilities. Refer to the manual for detailed instructions on activating these features. Proper setup enhances efficiency and comfort without compromising performance. Always test configurations to ensure functionality.
Testing the System
Verify wiring connections and ensure proper installation. Test system functionality, including heating, cooling, and fan modes. Check thermostat response and system synchronization. Confirm all components operate efficiently together.
6.1 Functional Testing of Heating and Cooling
After installation, test the heating and cooling systems to ensure proper functionality. Turn on the heating mode and verify the system responds by activating the heat source. Check for consistent temperature changes and proper airflow. Repeat the process for the cooling mode, ensuring the system cools as programmed. Use the thermostat’s test procedure to verify all components, including fans and relays, operate correctly. Monitor the system for any unusual noises or delays, which may indicate issues. Confirm that the thermostat accurately reflects the system’s status and adjusts temperatures as expected. This step ensures the Honeywell 6000 Series operates efficiently and meets your comfort needs.
6.2 Installer System Tests and Diagnostics
After installation, perform comprehensive system tests to verify proper operation. Check all wiring connections and ensure the thermostat is configured correctly. Test the system’s response to temperature changes by running heating and cooling cycles. Verify that the fan operates as programmed and transitions smoothly between modes. Use the thermostat’s diagnostic features to identify any issues, such as error codes or connectivity problems. Ensure the system achieves the set temperature and maintains consistency. Perform additional tests for humidity control, geofencing, and smart home integrations if applicable. These steps ensure the Honeywell 6000 Series functions reliably and meets performance expectations, providing long-term efficiency and comfort.
Troubleshooting Common Issues
Identify common issues like error codes, connectivity problems, or temperature inaccuracies. Check wiring, restart the system, and ensure proper configuration. Refer to the manual for detailed solutions.
7.1 Identifying and Resolving Wiring Issues
Wiring issues can cause malfunctions in the Honeywell 6000 Series. Start by inspecting connections for looseness or damage. Refer to the wiring diagram in the manual to ensure correct connections. If the thermostat fails to power on, check the circuit breaker or fuse. For heat or cool issues, verify proper wiring between the thermostat and HVAC system. Use a multimeter to test voltage at the thermostat terminals. If wires are damaged, replace them carefully. Ensure all connections are secure and match the system requirements. Consult the troubleshooting section for specific error codes related to wiring. Always turn off power before making adjustments.
7.2 Troubleshooting Display and Communication Problems
If the display is blank, ensure the thermostat is powered on and check for loose wiring. For connectivity issues, verify Wi-Fi settings and network stability. Reset the thermostat by removing batteries or switching off power for 30 seconds. If the screen is unresponsive, perform a factory reset. Check for firmware updates to resolve software-related issues. Ensure the thermostat is properly paired with smart home systems. If communication errors persist, consult the error codes in the manual or contact Honeywell support. Always refer to the troubleshooting guide for specific solutions to display and connectivity problems.
Maintenance and Upkeep
Regularly clean the thermostat to prevent dust buildup. Check battery levels and ensure proper airflow. Follow the manual for scheduled maintenance and best practices.
8.1 Scheduled Maintenance Recommendations
Regular maintenance ensures optimal performance of your Honeywell 6000 Series thermostat. Schedule annual professional inspections to check wiring and system compatibility. Clean the display and sensors every 6 months to prevent dust buildup. Replace batteries as indicated by low-battery alerts, typically every 1-2 years. Ensure proper airflow by maintaining a clear area around the thermostat. Refer to the installation manual for specific recommendations tailored to your system. Consistent upkeep helps maintain efficiency, accuracy, and extends the product lifespan.
8.2 Cleaning and Replacing Parts
Regular cleaning and part replacement are essential for maintaining the Honeywell 6000 Series’ performance. Use a soft cloth to wipe the display and sensors to prevent dust buildup. For internal components, gently use compressed air to remove debris. Replace the batteries every 1-2 years or when a low-battery alert appears. Some parts, like the wallplate or wiring connectors, may require professional replacement if damaged. Always refer to the installation manual for specific instructions. Proper maintenance ensures accurate temperature control and system reliability. Cleaning and replacing parts as needed helps extend the lifespan of your thermostat and maintains optimal functionality.
Integration with Smart Home Systems
The Honeywell 6000 Series seamlessly integrates with smart home systems, offering voice control and remote management through compatible platforms, enhancing home automation and comfort.
9.1 Wi-Fi Setup and Smart Home Compatibility
To set up Wi-Fi on your Honeywell 6000 thermostat, follow these steps: First, ensure your router is on and within range. Then, press and hold the “Menu” and “Fan” buttons simultaneously for 5 seconds to enter the Wi-Fi setup mode. Use a smartphone or tablet to connect to the thermostat’s temporary network. Once connected, select your home network from the list and enter the password. The thermostat will automatically connect to your network. After successful connection, you can integrate it with popular smart home systems like Google Home or Amazon Alexa for voice control and seamless automation. Ensure your router is on the 2.4 GHz band for compatibility. If issues arise, refer to the Honeywell Home app for troubleshooting guides or reset the thermostat by removing the batteries for 30 seconds. This ensures a stable and secure connection, allowing you to control your thermostat remotely and access advanced features.
9.2 Voice Control and App Integration
The Honeywell 6000 Series thermostat supports voice control through integration with Amazon Alexa and Google Home. To enable voice control, download and install the Honeywell Home app, then link your thermostat to your smart home system. For Amazon Alexa, enable the Honeywell skill and link your account. For Google Home, link your Honeywell account through the Google Home app. Once connected, you can adjust temperatures, switch modes, and schedule settings using voice commands. The Honeywell Home app also allows remote access and advanced features like geofencing and energy usage tracking. Ensure your thermostat is connected to Wi-Fi and properly configured for seamless integration.
Compliance and Warranty Information
The Honeywell 6000 Series complies with industry standards for safety and performance. The product is backed by a limited warranty covering defects in materials and workmanship for a specified period. For detailed warranty terms and conditions, consult the official manual or contact Honeywell support directly.
10.1 Compliance with Industry Standards
The Honeywell 6000 Series adheres to stringent industry standards, ensuring reliability and safety. It meets UL (Underwriters Laboratories) and ENERGY STAR certifications, guaranteeing energy efficiency and compliance with environmental regulations. The thermostat is designed to operate seamlessly with various HVAC systems, maintaining high performance and compatibility. By meeting these standards, the Honeywell 6000 Series provides users with a trusted and durable solution for temperature control. This compliance ensures that the product not only meets but exceeds customer expectations for quality and efficiency, making it a preferred choice for both residential and commercial applications.
10.2 Warranty Terms and Conditions
Honeywell offers a comprehensive warranty for the 6000 Series, covering defects in materials and workmanship; The standard warranty period is typically one to two years, depending on the product and region. Registration may be required to activate the warranty, ensuring coverage for repairs or replacements. Customers must adhere to installation guidelines and maintenance recommendations to maintain warranty validity. For detailed terms, including exclusions and regional variations, refer to the official Honeywell website or contact their customer support. This warranty underscores Honeywell’s commitment to quality and customer satisfaction, providing peace of mind for users.
Technical Support and Resources
Honeywell provides extensive support through online manuals, guides, and 24/7 customer service. Visit their website for troubleshooting tips, installation videos, and software updates.
11.1 Contacting Honeywell Support
Honeywell offers comprehensive support for the 6000 Series through their official website and customer service. Users can access detailed installation manuals, troubleshooting guides, and software updates online. For direct assistance, Honeywell provides 24/7 phone support and regional offices worldwide. Visit www.honeywell.com for contact details and resource downloads. Their team is available to address installation queries, technical issues, and warranty-related concerns. Additionally, Honeywell’s support portal includes FAQs, video tutorials, and user forums for self-help options.
11.2 Online Manuals and Guides
Honeywell provides extensive online resources for the 6000 Series, including downloadable PDF manuals, installation guides, and user instructions. Visit the official Honeywell website to access detailed documentation tailored for technicians and homeowners. These resources cover installation, configuration, and troubleshooting, ensuring a smooth setup process. The portal also offers interactive tools, such as wiring diagrams and configuration wizards, to assist with advanced settings. For specific queries, Honeywell’s support page includes FAQs and technical bulletins. Users can download the latest firmware updates and system compatibility checks directly from the site, ensuring optimal performance of their Honeywell 6000 Series thermostat.
No Responses